CodePen React Template
Published March 23, 2020Sometimes we want to throw together a quick prototype or proof of concept and share it without hassle with friends or coworkers. CodePen has been an incredible tool for that. You can write HTML, CSS, and JavaScript right in the app and see your changes as you type. From there, all you need to do to distribute the prototype is copy and paste the URL wherever you want, like an email or a Trello board.
More and more, though, I find myself writing my prototypes in React. While CodePen supports React, it takes a few extra steps to set up. That’s where templates come in. If you take some time to create a React Template in CodePen, you’ll only have to do that set up once — saving yourself a ton of time down the road.
#Step By Step
In this post, I’ll walk you through what you need to do.
#1. Create a New Pen
First, create a new pen. When you do, you should see four windows:
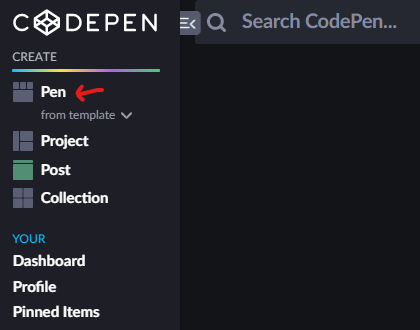
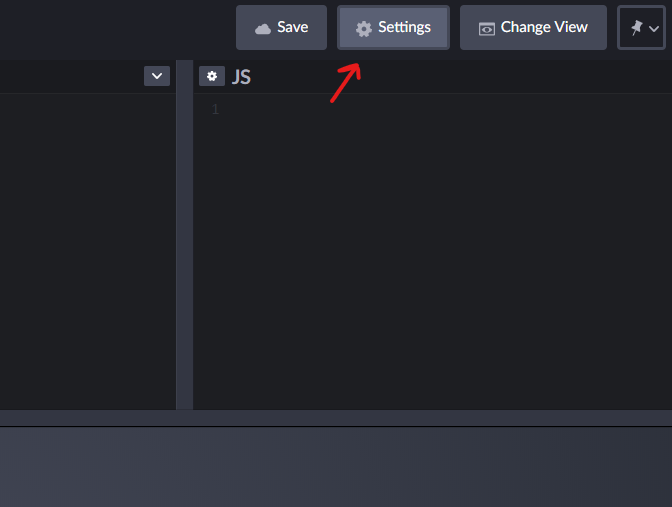
Once you have this new blank pen open, give it a title. Something like “React Template” should do the trick. Then we’re going to open up the Settings in the top right.
While you have the settings window open, you can take this chance to give the pen a description too (totally optional).
#2. Define as a Template
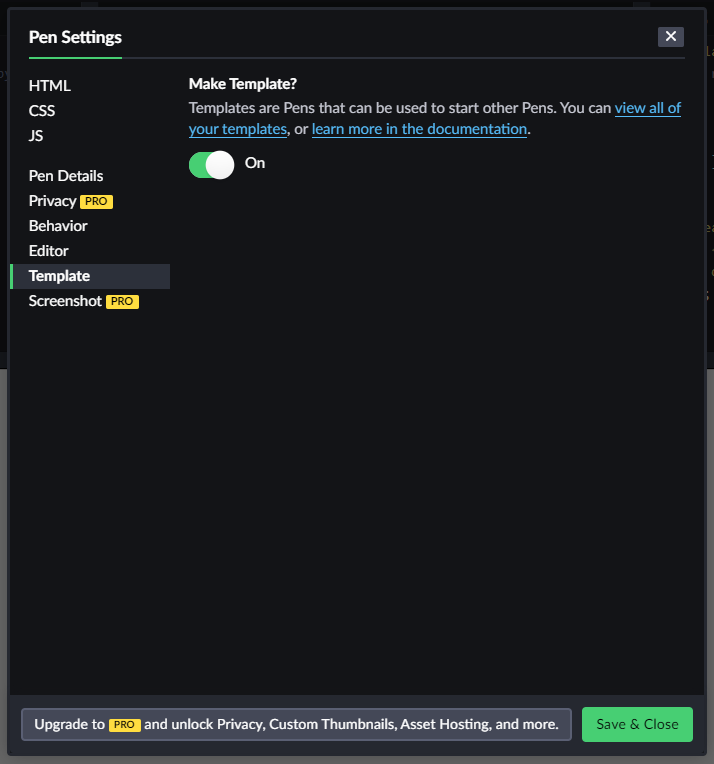
While you have the settings open, and before we proceed, we should go ahead and declare this new pen as a template. All we need to do is go to the Template section of Settings, and turn on.
#3. Configure JavaScript Settings
Go ahead to the JavaScript section of the settings.
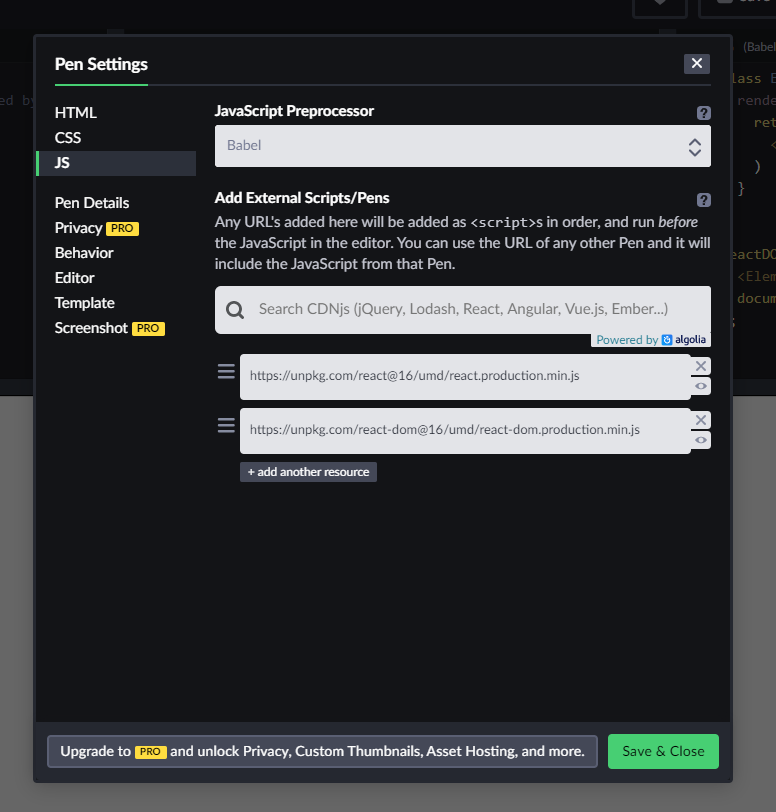
Here we’re going to do a few things. First, we’re going to set the JavaScript preprocessor to Babel. That’s what will allow us to write the React’s JSX. Second, we need to include React and ReactDOM. You can use the Search CDNjs bar, but I prefer to use these URLs below. They come directly from React’s documentation.
https://unpkg.com/react@16/umd/react.production.min.jshttps://unpkg.com/react-dom@16/umd/react-dom.production.min.js
The @16 in the URL designates the version of React. If you leave @16 you’ll get the latest version within version 16. You can also specify specific versions like @16.9. Unfortunately, this doesn’t seem to work for versions earlier than 16.
#4. Write the Skeleton Code
In the HTML, you’re going to need very little. Something like this will do the trick:
<div id="app">
  <!-- React will mount here -->
</div>
As the comment suggests, our React code is going to bind to this div. Since this is just a template, our JavaScript code is going to be similarly sparse. We need two things: 1) a very basic component, and 2) the binding to the HTML.
class Element extends React.Component {
  render() {
    return (
      <div>Hello World!</div>
    )
  }
}

ReactDOM.render(
  <Element/>,
  document.getElementById("app")
);
And that’s all you need!
#5. Working with the Template
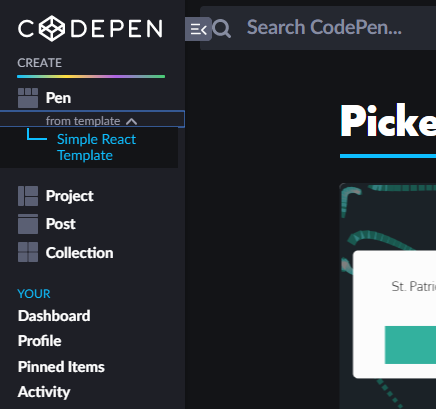
Now that we have our React Template, anytime we want to quickly jump into writing a React prototype, all we have to do is come to CodePen and create a new pen from template.
This will create a new pen with all the settings we predefined, and our skeleton code is in place. All you have to do is expand the JS to fit your needs!
#create-react-app?
Some readers are probably wondering why use CodePen at all, when you could just use npx create-react-app. Valid question! create-react-app is great. It’s a great way to learn React, and a handy bootstrapping tool for more complex apps and prototypes. I’d argue that where you build the app depends on two things: complexity and scalability.
If your prototype is highly complex and needs to be scaled to a full, proper, production-ready application, use create-react-app (or write from scratch or use some other bootstrapper tool).
If not, CodePen is much easier to share.
Happy coding!